
another christmas come and gone. i still cannot believe how fast this holiday season flew by, and although i say that year after year, this one went particularly fast. here is a recap of our christmas & as promised, the famous snow globe tutorial.

^^ we received a plethora of goodies including this fabulous kitty blanket miles won at his work's white elephant party. as you can tell from my expression, it's the cat's meow!^^

^^we made tamales & my grandma came up with the greatest idea to put butter in the masa because butter makes everything better, no? it may have been was our best batch to date^^
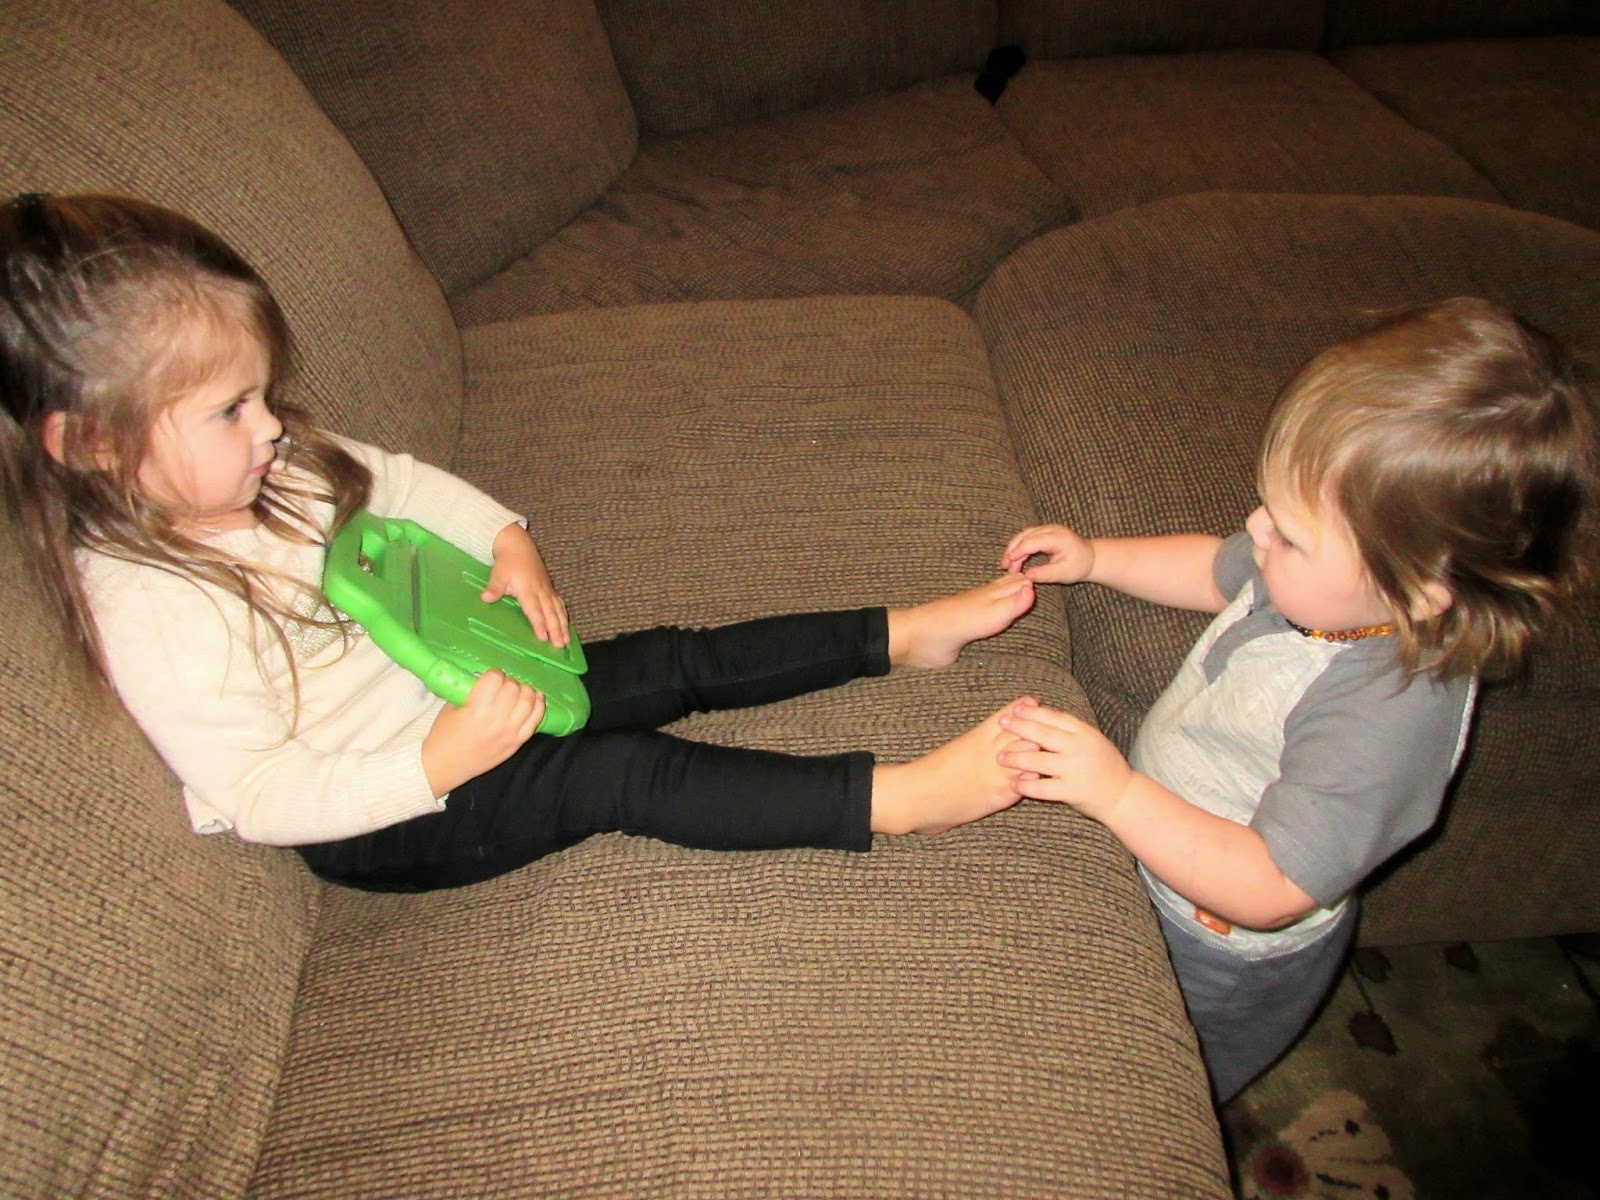
^^L learned early on how to make a lady happy with a foot massage & his cousin bella loved his gentle touch^^
now if you want to make the fun & festive snow globes i posted on my instagram here is the how to:

^^you'll need jars in a multitude of sizes and shapes^^

^^your choice of holiday floral stems (i found mine at joann's)^^

^^mini trees (i found mine in the holiday collector's section at michael's)^^

^^wire cutters & a hot glue gun. also (not pictured) you'll need some fake snow)^^


^^step one: hot glue a mini tree to the base of the mason jar cap (if you have bigger lids feel free to glue two trees & any other fun holiday staples. i found a mini clock tower and used that in one of my bigger jars^^

^^next, you'll want to take the floral stems and clip them down into small pieces and glue those around the bottom of the tree like this (don't worry, it doesn't have to be perfect. once in the jar, little flaws or gaps won't be noticeable)^^

^^now pour your fake snow into the jar itself. there is technique in having a good medium here. you don't want too much snow and you also don't want too little. if you have too much you'll drown out your decor around the tree & if you have too little your snow will be buried by the lid & won't be visible^^

^^now with the jar upright, you want to screw the lid on. the tree will be upside down in the jar at this point & the snow will be resting at the bottom of the jar. now flip the jar upside down & using your palm gently tap the sides of the jar to get the snow to distribute evenly at the bottom of the jar & voila you are done!^^

^^you can also do an inversion method which i find much easier & will show you how to do here^^
[i think it is fun to do half and half with both methods to add some diversity to your jars]
^^so in this method, you'll want to stuff the snow into the jar and then add any sprig assortment into the snow. then, all that is left to do is to screw the cap on. yep, it's that simple which is why i like this method the most (no glue, not too much arranging, and it's effortless, but it looks like it took a ton of time. the best, am i right?!)^^

^^and here are the two variations of your beautiful jars completed!^^

^^here were my globe arrangements. you see how adorable they look when you use different sized jars?!^^
I hope you enjoyed this tutorial and if you did please comment with an honest review below. you can also comment with any questions you might have! also, don't feel like this is something you can only do for christmas, all the different holidays can be made into fun "snow" globes, just get creative, and get crafting!
I hope your holiday was merry, bright, and filled with family, friends and all those you love the most.
merry christmas from my family to yours,

No comments:
Post a Comment